"I couldn't find a funny quote about navigating structured content." - Kristoffer Æsøy (2023)
The structure we all know and... love?
A common sight for anyone who’s worked with Sanity is the structure of their Studio. This is the map of all the content that exists in your content lake. What you see is what you… have! The thing about maps is that they get harder to read the bigger the area they try to cover. The same is true about navigating your content lake in Sanity! Maybe you’re looking for a movie you put in but you can’t really remember the title, just that it was a thriller. 🎃
We start off by taking a look at what Sanity gives us out-of-the-box:
The first step to making it easier to navigate is to ditch the default. To its credit, it shows you all the content that is available in your content lake. But, the documents for each type are all in one long list, which can be a nightmare to navigate if you have a lot of documents 😖. Also, it just looks kinda boring... snore! 💤
Adding som ✨style✨
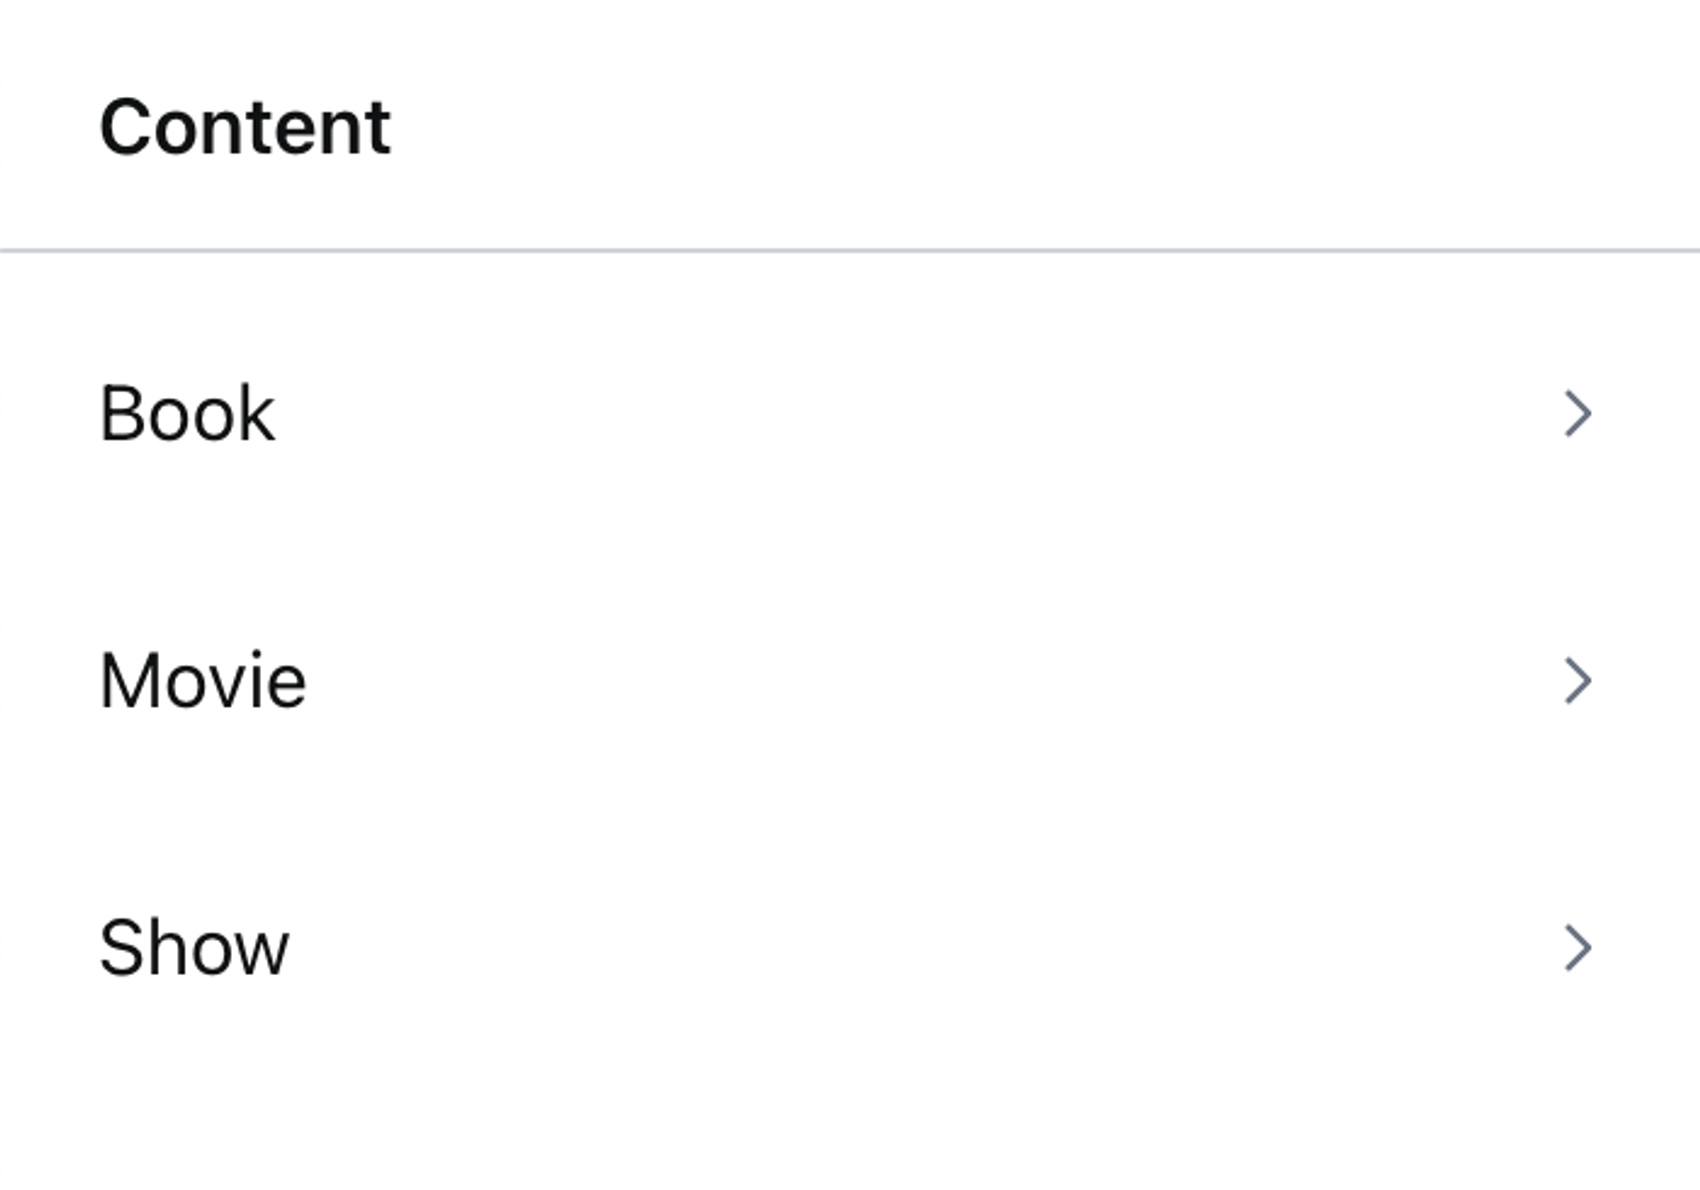
To ease us into it, we can recreate the default structure we saw in the image above, but make it a bit more hip and fresh 😎. Let's spice it up a bit by adding an icon to each of our lists of document types. Cuz, people like looking at pictures, you know?
To do this we need to get down to business with the Structure builder API, which handles all things studio structure. If you want a custom structure you'll need to create a StructureResolver function, which is a function that accepts Sanity's structure builder class, commonly referred to as S.
Using this builder class you can chain ⛓️ its methods to customize your studio's structure! We begin by defining the root of the structure as a list, where each of our document types are separate entries that we can add a title and a icon to by chaining methods onto the listItem method.
When we want something to be displayed in a new pane we use the child method, and inside it we can create a new list that simply displays all our documents. There exists a documentTypeList that only shows the documents matching the type you give it, which is super convenient.
Here it is:
//structure.ts
import {MdCameraAlt, MdMenuBook, MdMovie} from 'react-icons/md'
import {StructureResolver} from 'sanity/desk'

export const myStructure: StructureResolver = (S) =>
  S.list()
    .id('root')
    .title('Content')
    .items([
      S.listItem().title('Books').icon(MdMenuBook).child(S.documentTypeList('book')),
      S.listItem().title('Movies').icon(MdMovie).child(S.documentTypeList('movie')),
      S.listItem().title('Shows').icon(MdCameraAlt).child(S.documentTypeList('show')),
    ])
Having defined our custom structure, we need to tell our Sanity project to use this when we are in the studio. The structure is set using Sanity's deskTool plugin, which is already included in the config when we create a new project! Replacing the default one with ours is super simple, its just about setting the structure field:
//sanity.config.ts
import {visionTool} from '@sanity/vision'
import {defineConfig} from 'sanity'
import {deskTool} from 'sanity/desk'
import {myStructure} from './desk/structure'
import {schemaTypes} from './schemas'
export default defineConfig({
name: 'default',
title: 'My Sanity Project',
projectId: '8j6sa2ms',
dataset: 'production',
plugins: [
deskTool({
structure: myStructure, // <- we set the custom structure
}),
visionTool(),
],
schema: {
types: schemaTypes,
},
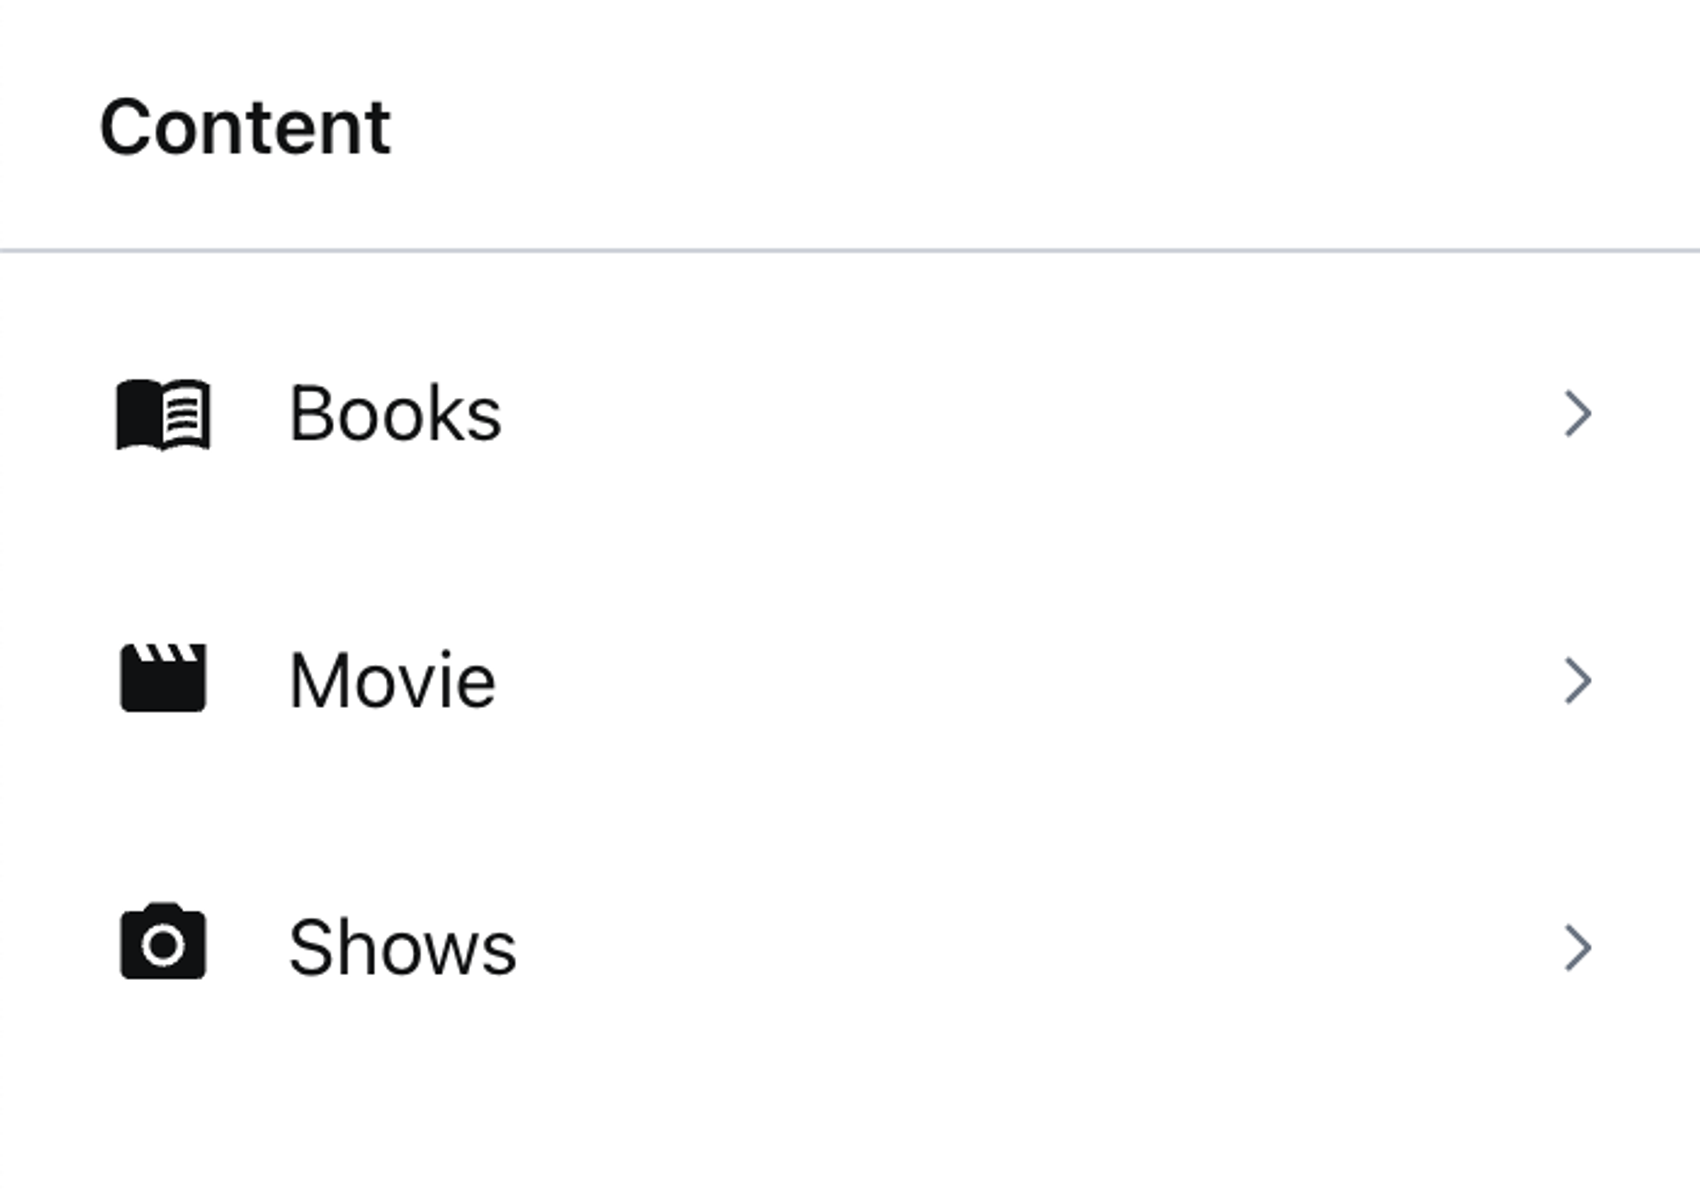
})And voilá, let's check out how our Studio looks like with our new custom structure:
Filters, turning our Studio into the 'gram
Already looking a lot better! Now, we have what we need to solve the actual issue at hand. How can we more easily navigate all the different movies we have? Let's assume that we have three genres of movies: comedy, drama and thriller. We can create filters that separate our movies into those three genres!
The filter method can be applied to any type of list you can find in the structure builder class. It accepts a GROQ query to filter documents, which you will be familiar with since it's the same tool use we in our frontends to fetch content from Sanity.
An important thing to note is that when you apply a filter to a documentTypeList you actually end up overriding the method's default filter, meaning that you'll have to filter by the document type in your query as well. Now it doesn't make much sense to use that method anymore right? Therefore we can replace it with the more generic documentList and filter that instead!
This is how we make our filters for movie genres:
//structure.ts
import {MdCameraAlt, MdMenuBook, MdMovie} from 'react-icons/md'
import {PiKnife, PiMaskHappy, PiMaskSad} from 'react-icons/pi'
import {StructureResolver} from 'sanity/desk'
export const myStructure: StructureResolver = (S) =>
S.list()
.id('root')
.title('Content')
.items([
S.listItem().title('Books').icon(MdMenuBook).child(S.documentTypeList('book')),
S.listItem()
.title('Movies')
.icon(MdMovie)
.child(
S.list()
.id('movies')
.title('Genres')
.items([
S.listItem()
.title('Comedy')
.icon(PiMaskHappy)
.child(
S.documentList().id('comedy').filter('_type == "movie" && genre == "comedy"'),
),
S.listItem()
.title('Drama')
.icon(PiMaskSad)
.child(S.documentList().id('drama').filter('_type == "movie" && genre == "drama"')),
S.listItem()
.title('Thriller')
.icon(PiKnife)
.child(
S.documentList().id('thriller').filter('_type == "movie" && genre == "thriller"'),
),
]),
),
S.listItem().title('Shows').icon(MdCameraAlt).child(S.documentTypeList('show')),
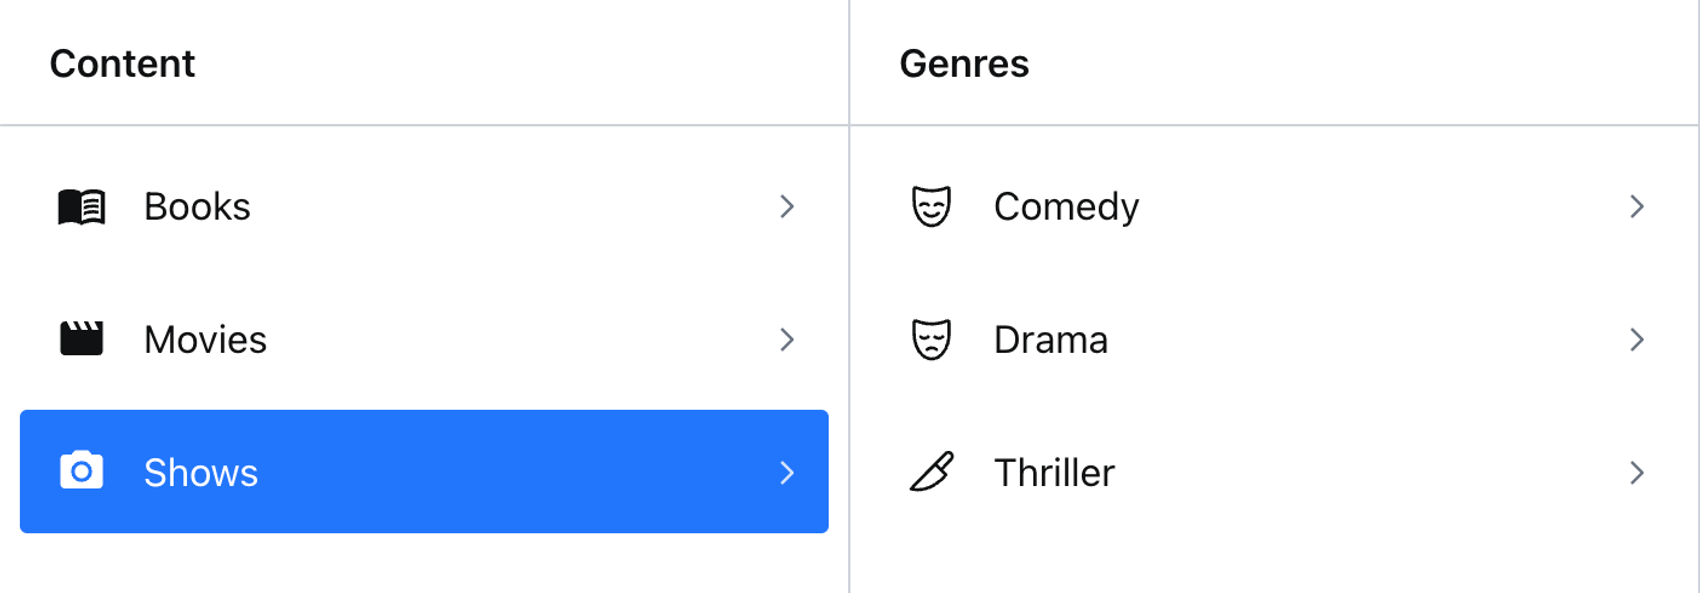
])Cool! It's time to take a look at how it turned out in the studio:
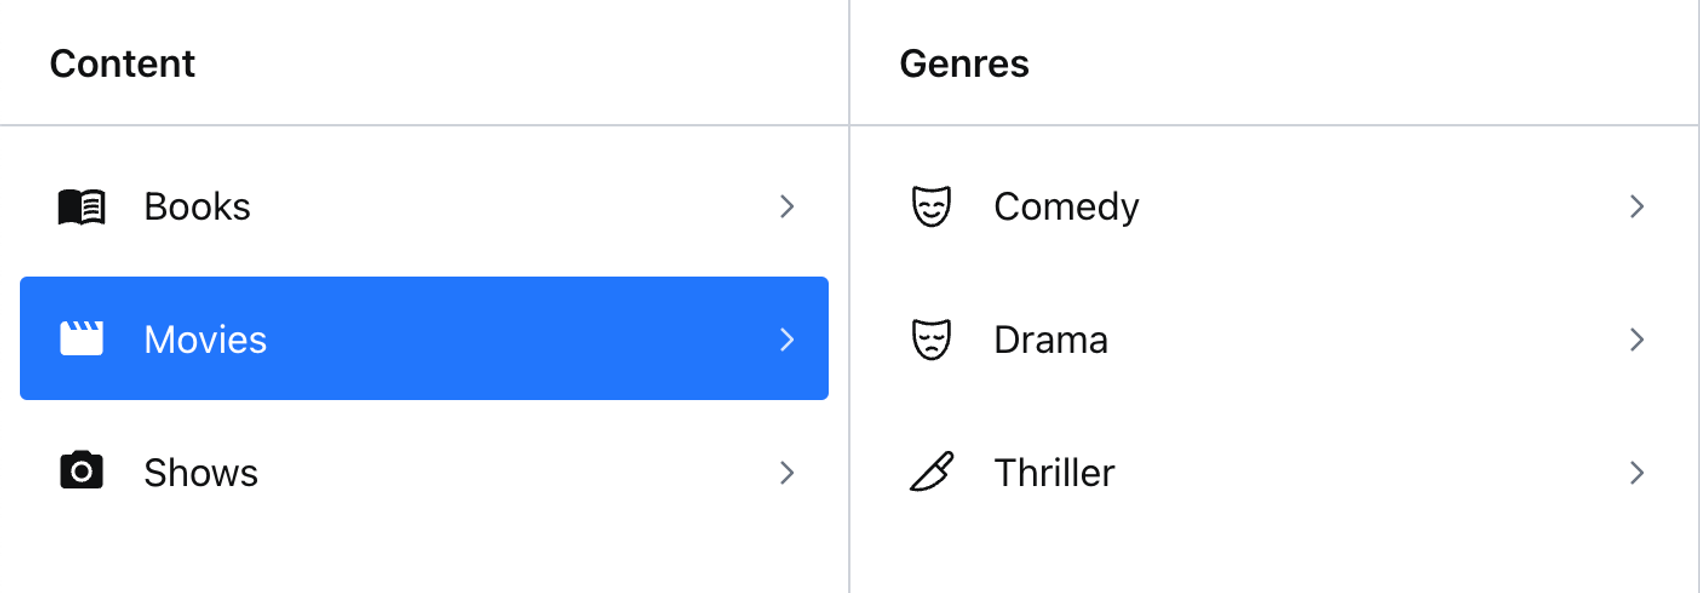
Magnifique, now we can more easily find our movies when we know their genre and how sweet aren't those icon! Chef's kiss. 🤌
♻️ Recycling ♻️ our filters
Okay, we have filters for our movies, but maybe we wanna add some filters to our books and shows as well. 🤔 Perhaps all of them share the exact same genres, and then we would end up creating the exact same filters for all of them by just replacing the document type we filter by... 😅 I don't know about you, but I think the single filter above makes the structure file a lot less readable, and adding more of almost identical code wouldn't really be of any help. Maybe we can create some kind of function that accepts a type, and creates the genre filters for us!
Again, if we want to create a function that can access the structure builder API methods, we need it to accept S, the structure builder class. Then we can also accept the type we want to filter by making it able to filter any document type by genre, even though it only makes sense to do so if a type has a genre field 😄.
//utils.tsx
import {PiKnife, PiMaskHappy, PiMaskSad} from 'react-icons/pi'
import {StructureBuilder} from 'sanity/desk'

export const genreList = (S: StructureBuilder, type: string) => {
  return S.list()
    .id(type)
    .title('Genres')
    .items([
      S.listItem()
        .title('Comedy')
        .icon(PiMaskHappy)
        .child(S.documentList().id('comedy').filter(`_type == "${type}" && genre == "comedy"`)),
      S.listItem()
        .title('Drama')
        .icon(PiMaskSad)
        .child(S.documentList().id('drama').filter(`_type == "${type}" && genre == "drama"`)),
      S.listItem()
        .title('Thriller')
        .icon(PiKnife)
        .child(S.documentList().id('thriller').filter(`_type == "${type}" && genre == "thriller"`)),
    ])
}
Let's look at our final structure file now that we have created a custom function to filter our document types based on genre:
//structure.ts
import {MdCameraAlt, MdMenuBook, MdMovie} from 'react-icons/md'
import {StructureResolver} from 'sanity/desk'
import {genreList} from './utils'

export const myStructure: StructureResolver = (S) =>
  S.list()
    .id('root')
    .title('Content')
    .items([
      S.listItem().title('Books').icon(MdMenuBook).child(genreList(S, 'book')),
      S.listItem().title('Movies').icon(MdMovie).child(genreList(S, 'movie')),
      S.listItem().title('Shows').icon(MdCameraAlt).child(genreList(S, 'show')),
    ])
Talk about a clean structure huh? Now it's super obvious that we are using the same approach to create our genre filters for each of our document types. If someone is curious as to how those filters are created they can just check that function in isolation, and change it to apply an update to all our document types at once.
All that remains is to check if it worked:
Boom, there we have it! 🤩
You're good to go 🤙
And that's all folks! Now you've been introduced to all the building blocks you'll need to create helpful, reusable filters for your Sanity Studio. You can take this much farther but this is a great step in improving the navigation of your studio, and writing more DRY code!
Thanks for your time, and good luck finding the structure that works for you 👋