Have you ever had an application that you wanted to automate the building, packing, and deployment for? In this article, I will show you how to can utilize Docker, Github Actions, and Azure App Services in just a few steps.
Introduction
We are going to create a simple CI/CD pipeline. The pipeline or concept that we will focus on will touch upon multiple technologies that may at first look a bit overwhelming. Therefore, I am trying to make this as simple as possible. Nevertheless, in the end, we have a working pipeline that you may actually copy/steal/improve for your own project.
Pre-requisites
You don't actually need anything to read this article and understand what's going on, but if you want to replicate this, then, this is the technology I have used.
I will stick to the command line to keep the article's steps working for all operating systems.
The full solution is available at these locations:
1. Create a sample application
To keep this as simple as possible, I suggest using one of the default applications that the dotnet cli gives us. The following command creates a new MVC solution in a folder called DockerSample.
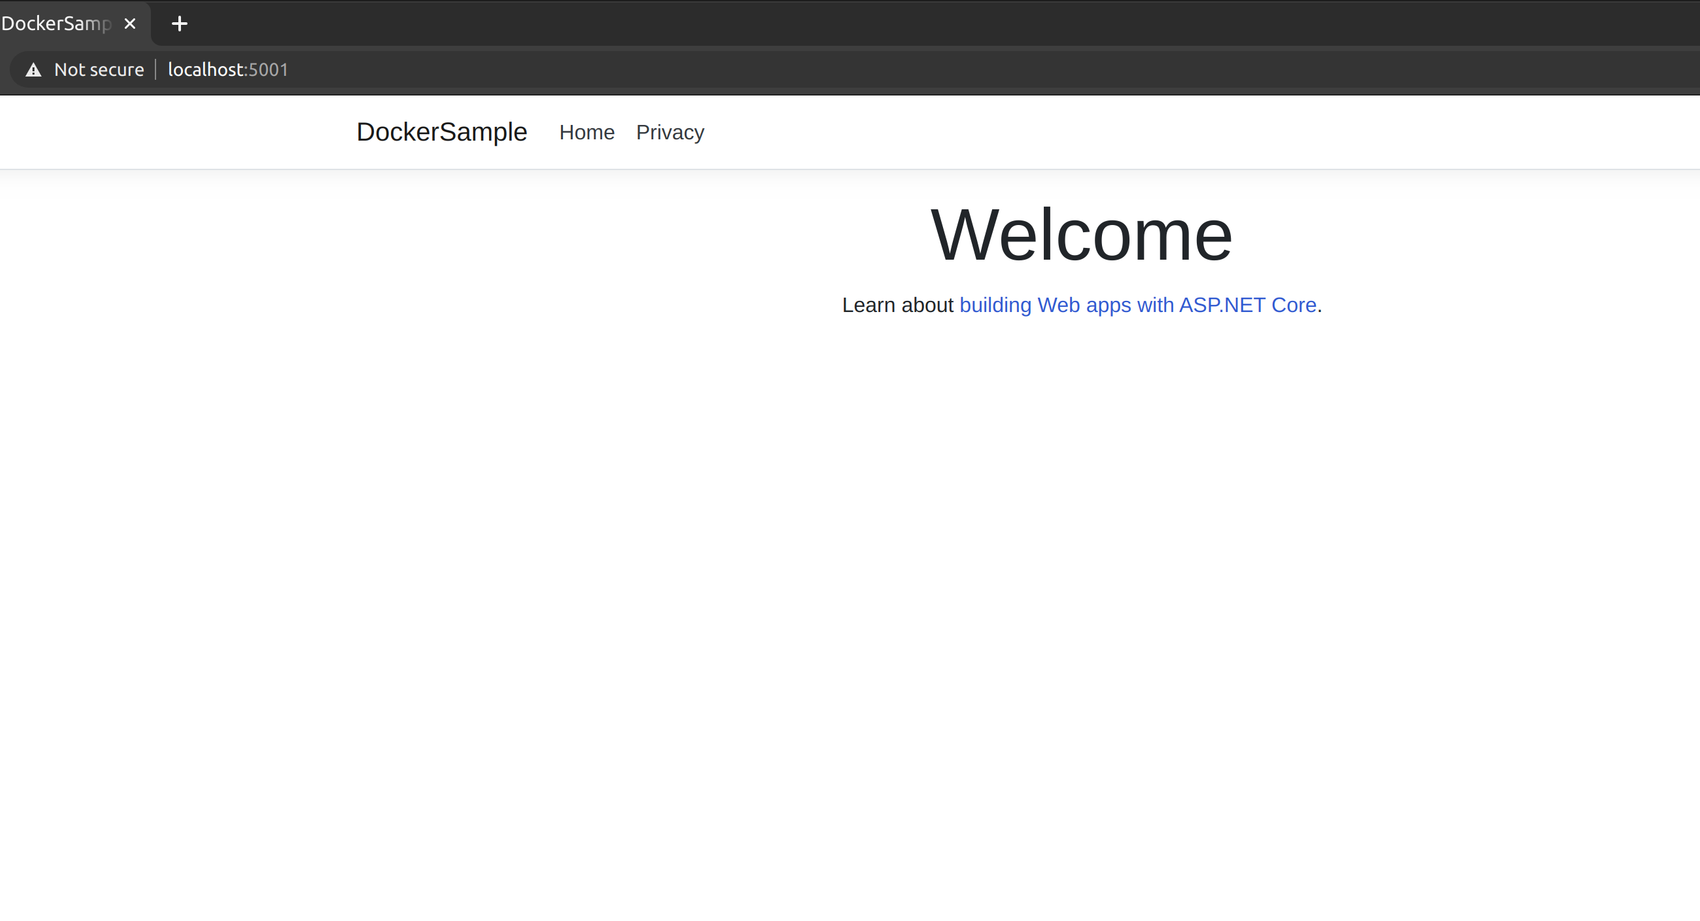
dotnet new mvc -n DockerSampleWe can test the application by navigating into the folder and run the following command.
dotnet runNow we should be able to open our browser and see the following on localhost port 5001.
2. Adding Docker support to your application
Now that we have a working application, we can make sure the application builds and runs in a Docker container from a Docker image. To create our Docker image, we need to create a Dockerfile. Since Docker is supported by Microsoft, we can use the images they serve as a baseline for our image. We see that Microsoft has several images available that serves our purpose. Namely, SDK and AspNet Runtime.
We will use the SDK image to build our solution and the AspNet Runtime to run our solution. We are using both instead of just the SDK because the Runtime image is smaller. We want our final image to be as small as possible.
The recipe for creating our image is to understand how the build progress of a typical .Net application work. Typically, we want to the following in the following:
- Download our dependencies (restore)
- Build our solution (build)
- Create an artifact of our application (publish)
- Run the application (execute)
Let’s start defining our image. We first need to tell Docker which image we want to use as a baseline. We can set the working directory at the same time. We can do that by adding the following to our Dockerfile.
FROM mcr.microsoft.com/dotnet/sdk:5.0 AS restore
WORKDIR /app
As you may have seen, I have named our image restore (i will come back to why later in this section).
To download/restore our dependencies, we add the following.
COPY DockerSample.csproj .
RUN ["dotnet", "restore"]
We are only caring about the project's dependencies; thus, we are only copying the .csproj file to /app inside our container. After that, we run the dotnet restore command using the CLI we have available from our base image.
Next, we need to copy the rest of our source files and build our solution.
FROM restore AS build
COPY . /app
RUN ["dotnet", "build", "--no-restore", "--configuration", "Release"]
In these steps, we create a new container named "build". This container derives from our previous image, namely "restore". After that, we copy the contents from our current directory (which includes our source code) from our local computer to the folder "/app" inside the container. Finally, we run the build command with some common flags for building a release.
Moving on, we need to publish our build as an artifact. We do that with the following instructions.
FROM build AS publish
RUN ["dotnet", "publish", "--no-restore", "--no-build", "--configuration", "Release", "--output", "artifacts"]
Again, we are creating a new container, but this time it's called "publish" and it derives from the container called "build". We then run the dotnet publish command to create an artifact and place it in a folder called artifacts.
Lastly, we need to run our artifact. That is where our runtime container comes in. In this step, we’ll take our artifact, copy it over to a new runtime container, and then set the entrypoint (which command to run when we start the container).
FROM mcr.microsoft.com/dotnet/aspnet:5.0 AS runtime
WORKDIR /app
COPY /app/artifacts /app
ENTRYPOINT ["dotnet", "DockerSample.dll"]With that, we have a fully working Dockerfile that takes our application, builds it, places the runtime in a small container, and runs it. Our final Dockerfile should look something like this.
FROM mcr.microsoft.com/dotnet/sdk:5.0 AS restore
WORKDIR /app
COPY DockerSample.csproj .
RUN ["dotnet", "restore"]
FROM restore AS build
COPY . /app
RUN ["dotnet", "build", "--no-restore", "--configuration", "Release"]
FROM build AS publish
RUN ["dotnet", "publish", "--no-restore", "--no-build", "--configuration", "Release", "--output", "artifacts"]
FROM mcr.microsoft.com/dotnet/aspnet:5.0 AS runtime
WORKDIR /app
COPY --from=publish /app/artifacts /app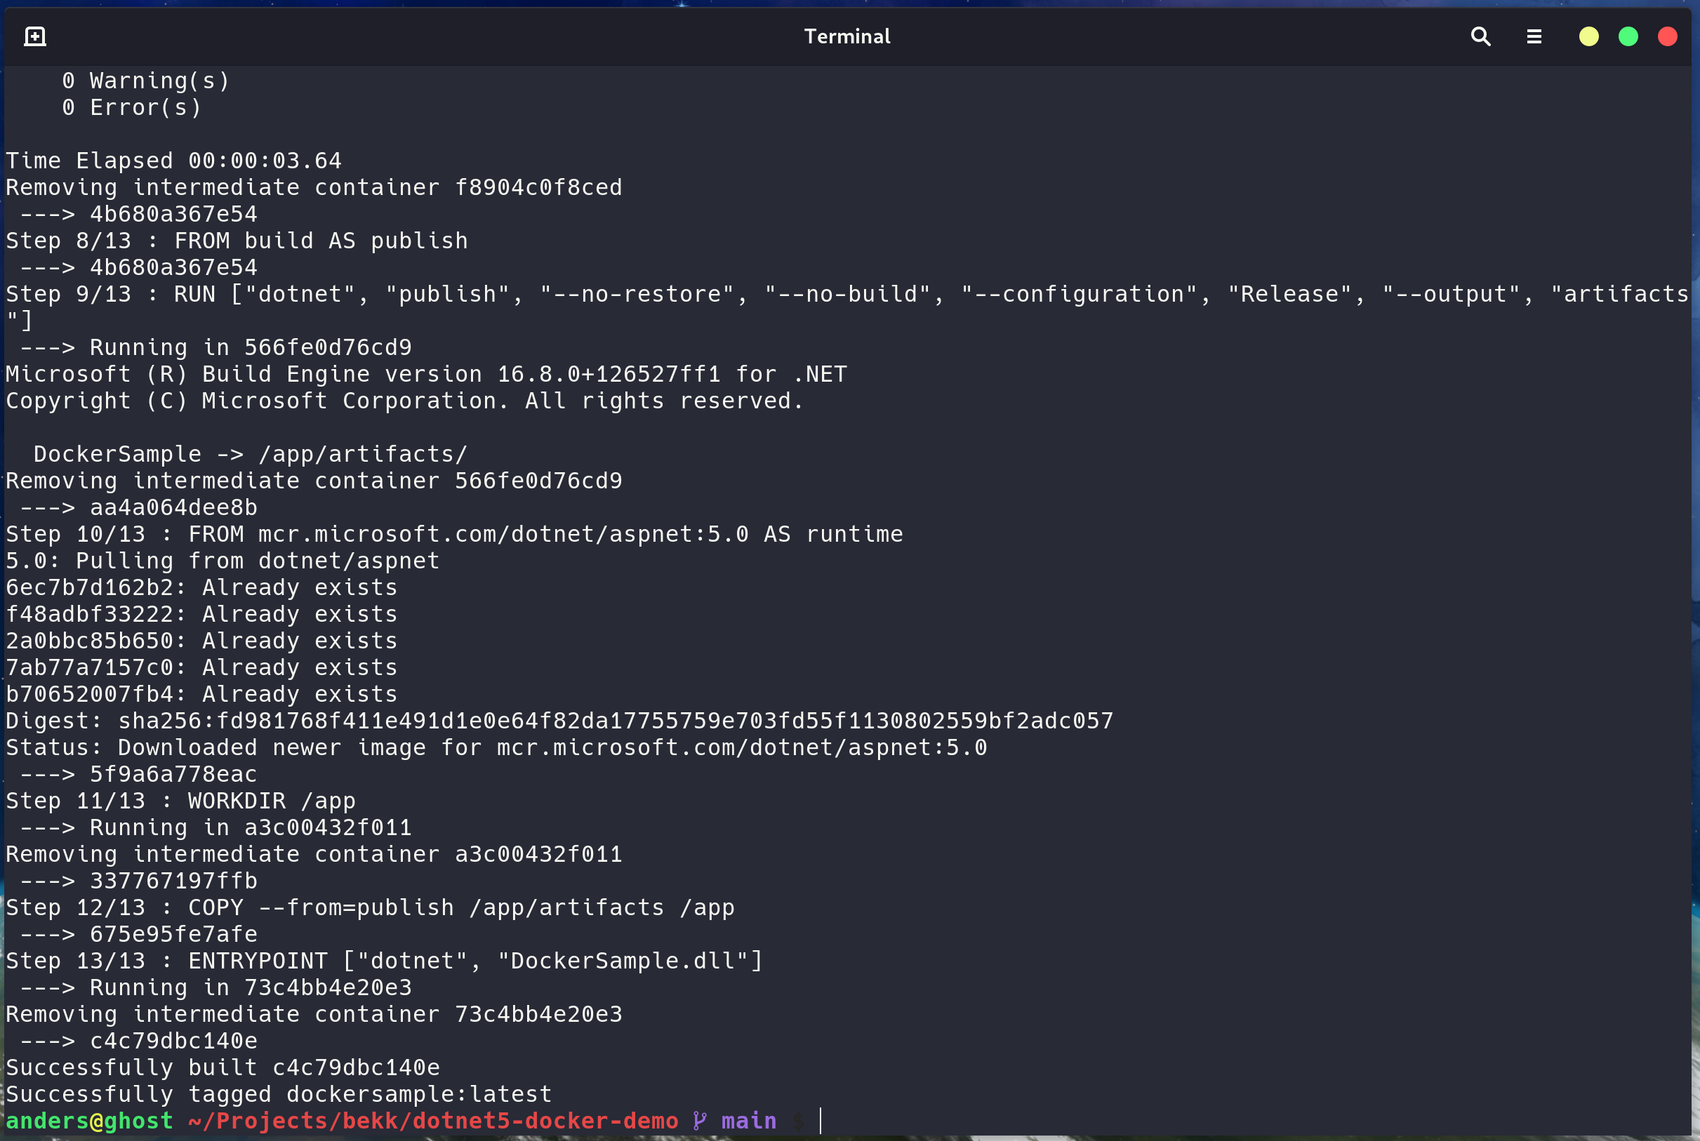
ENTRYPOINT ["dotnet", "DockerSample.dll"]To build our docker image, we run docker build . --tag dockersample:latest in our terminal. The build output should look something like this.
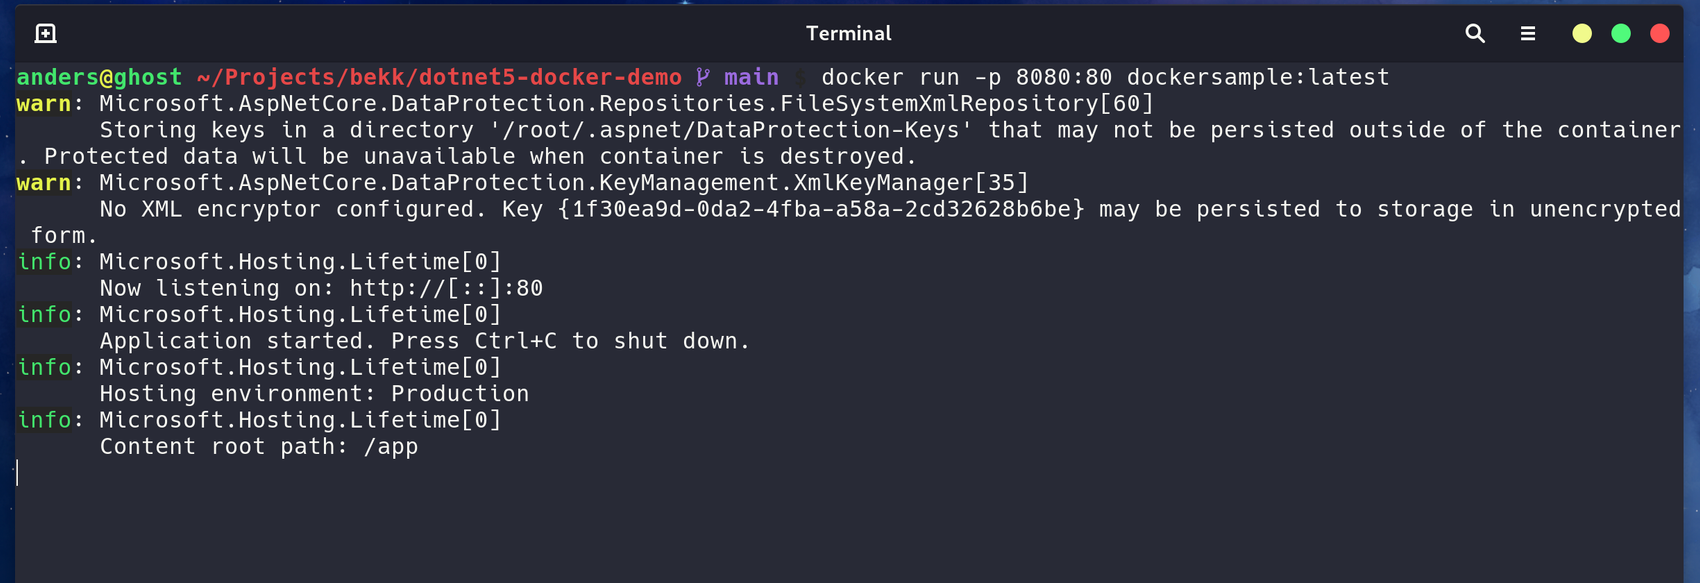
Now, to run this image, we run the following command: docker run -p 8080:80 dockersample:latest . Notice the -p 8080:80, meaning that we will forward our local port 8080 to port 80 in our container. Consequently, we can view our application in our browser at localhost:8080.
3. Github Actions and pipeline
In the last step, we created a Dockerfile for our project. Moving on, we are going to take some shortcuts. If you want a short introduction to how Github Actions work, you may read my introduction article that explains the concept in greater detail than here.
Before we move on, we need to know where we are going to store our Docker image. In this article we are using DockerHub, therefore, we need to create a repository at Dockerhub. Actually, we could use whatever repository we have. Just note that the only requirement we have, for now, is that the repository is open.
Nevertheless, we need to authenticate with the repository in order to be able to push our image. With Dockerhub, this is quite simple. We may either use our username and password or, even better, use our username and a token.
Storing our username and password/token in our code is something you should never do. Luckily, with Github Actions, we are able to use secrets.
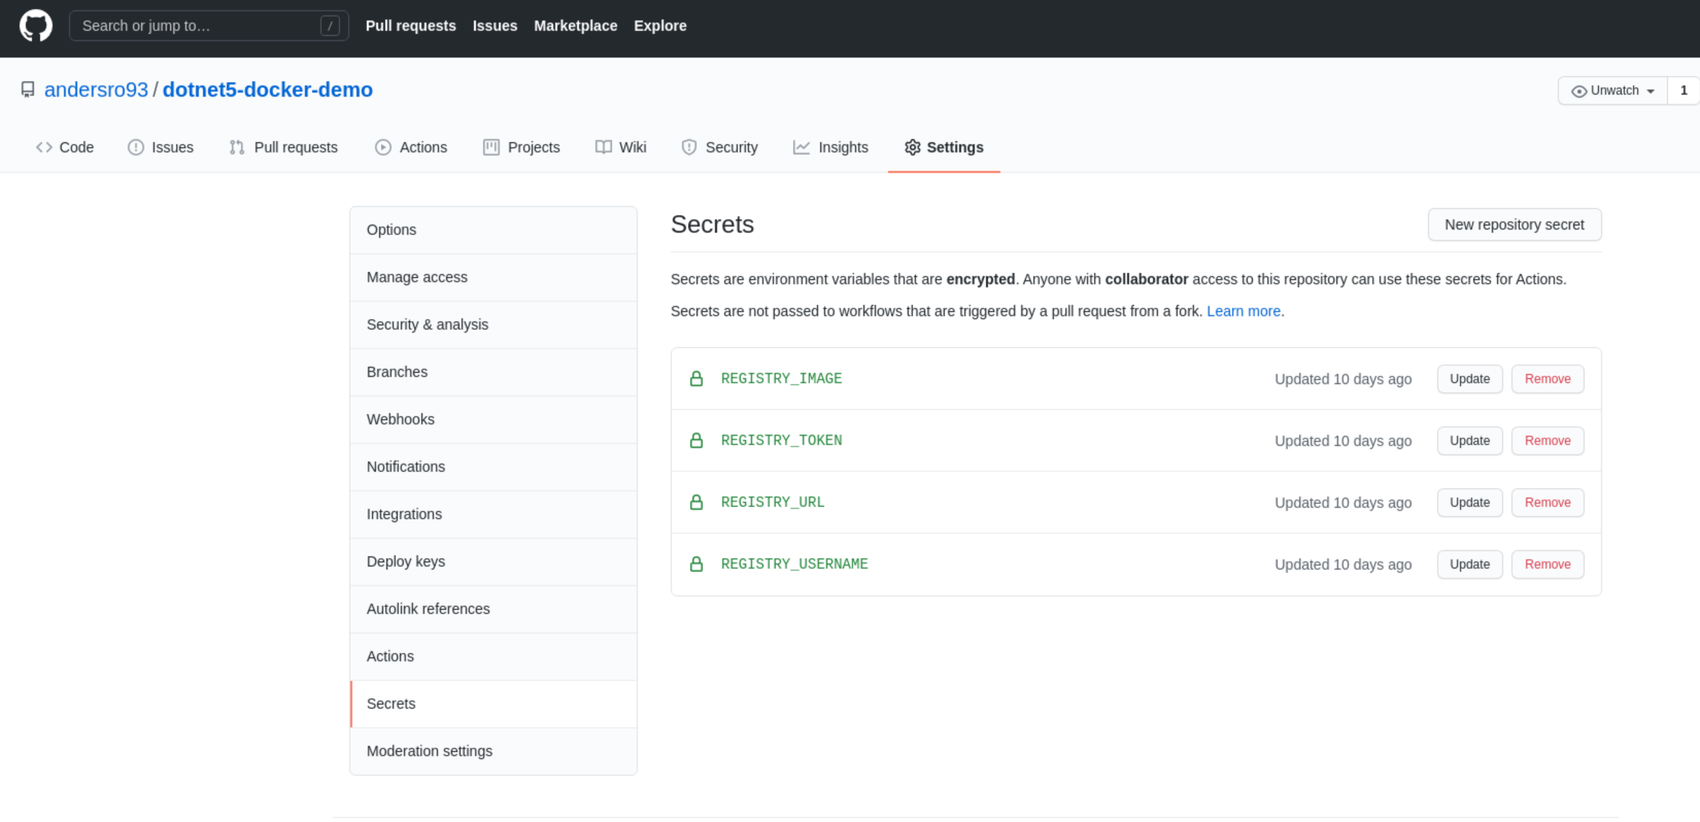
To configure our secrets, we navigate to Settings -> Secrets in our Github repository. Our secrets are encrypted, which means that once we have saved them, we are not able to view them again. However, we may replace or delete if we should need to in the future.
Now, let's move on. We will add a file called main.yml into a new folder in .github/workflows. In short, this where we store our Github Actions.
name: Build and push

on:
  push:
    branches: [main]

env:
  REGISTRY_URL: ${{ secrets.REGISTRY_URL }}
  REGISTRY_IMAGE: ${{ secrets.REGISTRY_IMAGE }}
  REGISTRY_USERNAME: ${{ secrets.REGISTRY_USERNAME }}
  REGISTRY_TOKEN: ${{ secrets.REGISTRY_TOKEN }}

jobs:
  build:
    name: "Checkout and build"
    runs-on: ubuntu-latest
    steps:
      - name: "Checkout code"
        uses: actions/checkout@v2

      - name: "Build image"
        run: docker build . --tag ${{ env.REGISTRY_URL }}/${{ env.REGISTRY_IMAGE }}:latest

      - name: "Login to Registry"
        uses: docker/login-action@v1.6.0
        with:
          registry: ${{ env.REGISTRY_URL }}
          username: ${{ env.REGISTRY_USERNAME }}
          password: ${{ env.REGISTRY_TOKEN }}

      - name: "Publish image"
        run: docker push ${{ env.REGISTRY_URL }}/${{ env.REGISTRY_IMAGE }}:latest
As you can see in main.yml file, we are creating a workflow with one job that consists of four steps. Remember, this is as simple as possible.
Let's dive into the steps in our job. First of all, we checkout our code (fancy word for cloning our git repo). Next, we build and tag the docker image that we configured in the previous section. After that, we log in to our Docker registry before we push our final image in the last step.
4. Creating and configuring our Azure App Service
Now, let's provision our AppService. I assume you are familiar with Azure App Service and its capabilities. We are going to create a Web App that runs on Linux (in a Docker container). If you are using the portal, you should see the following when you create the Web App.

Onward to the Docker tab. We need to configure what Docker image we should use and how we are going to retrieve it. This step can be complicated in many instances. So I will not cover how we deal with private registries. We are, therefore, going to use the same public image we created in the previous section.

We may configure to use that by selecting DockerHub, and then our image name. Hit "Review + create" and Voila!
Conclusion
In this article, we got a brief introduction on how we may use Docker and Github Actions to package and publish a .Net 5 on Dockerhub. Thereafter, we consumed that image on Azure App Service to make the .Net application publically accessible from all over the world. However, this pipeline is not complete, there are lots of things that could have been better. Nevertheless, I think that it may serve you in your current or your next project as a baseline that you will need to expand for your project to thrive. I hope that this has been helpful and that you now have another tool to use in the future.
Suggestions for further work
Like with any solution, it can often be improved. This is no exception. In fact, I think there is tons of room for improvement. However, I'll leave that to you. If you want some suggestions, this is what I recommend looking into.
- Make your repository private, such that it is only available for your App Service.
- Add triggers to your Github Action, such that you only run your Action, or parts of your Action, when something is pushed to the main branch.